life's a dog is a game I'm making - a surrealist take on surviving school and trying to get a bully expelled.
the player will be managing their mental health and reputation in order to not fall to the horrors, get expelled themselvs, or get entwined in a school-scandal
in this blog I'll be listing all the different mechanics i've made so far and how I did it.
Health system
starting off with the basics, we have the meantal-health and reputation system for the game
[abridged collection of how I did this so far coming soon, I have a private devlog to comb through]
NPC movement
here we have the NPC's and how they move - this is still on-going so will be updated when things change
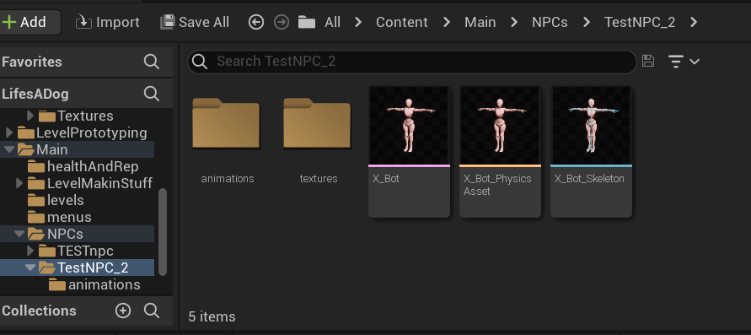
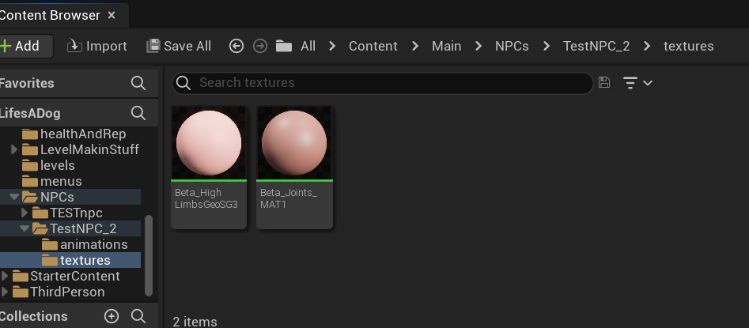
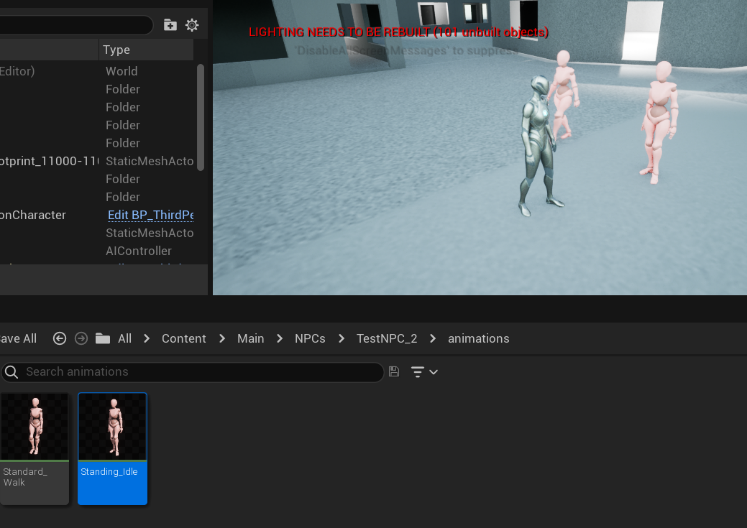
I got a basic bot-model, walking animations, and idle animations from Maximo – these animations are still serving me well for the NPC’s basic functions.
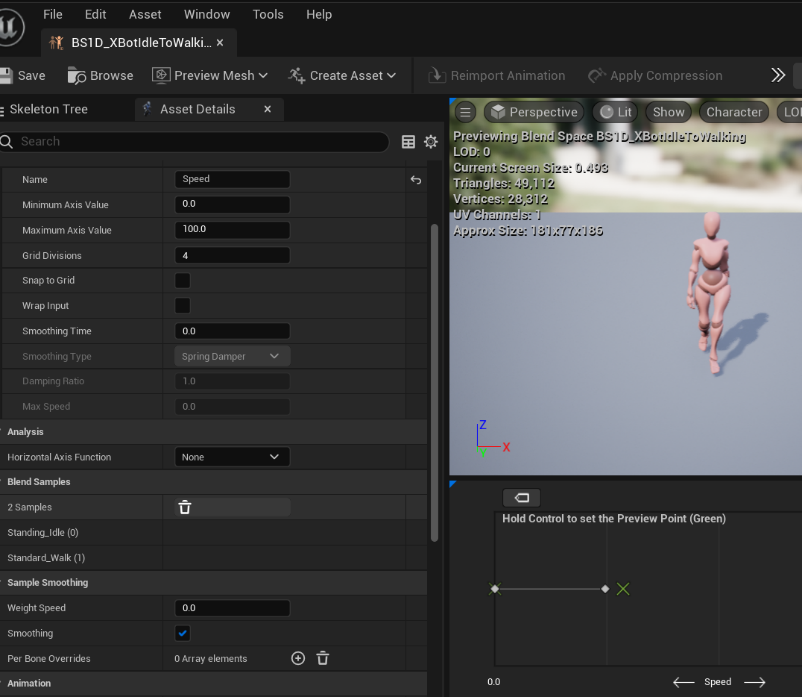
Created a 2D-blendspace between the idle and walking animation
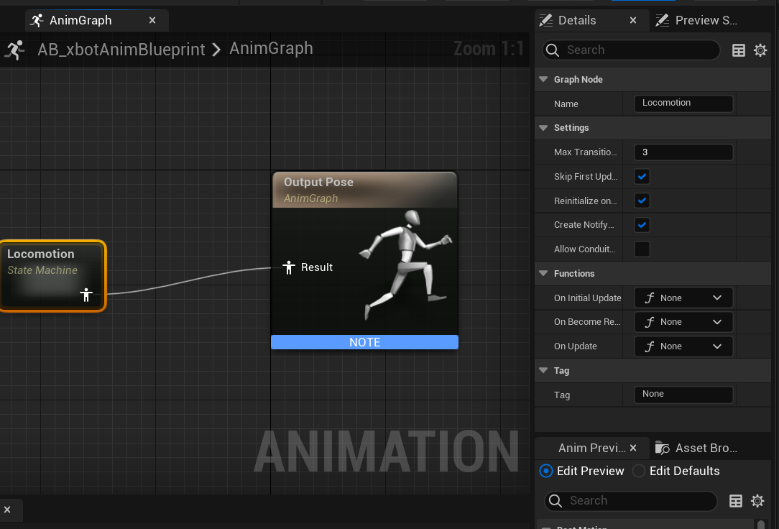
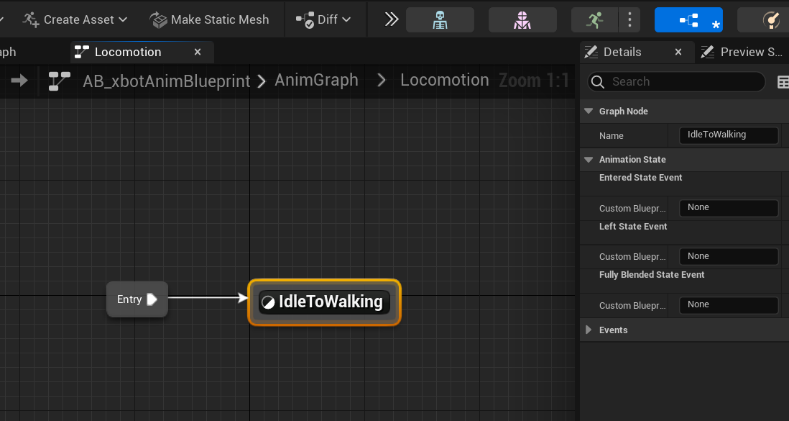
Created a state node called “locomotion” in the animation graph, and added a section that would contain the blendspace.
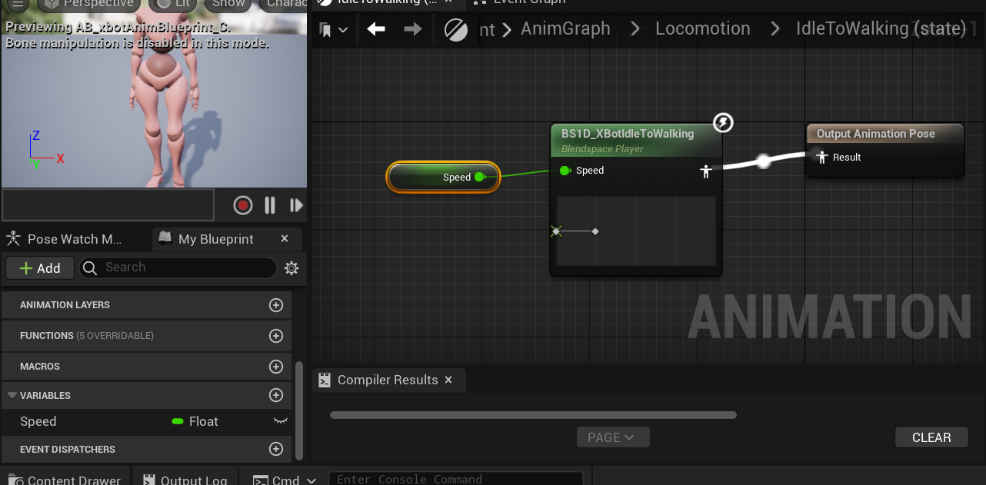
Within the “idle to walking” state node I then added a “speed” variable, and plugged the variable into the blend-space, and the blend-space into the output.
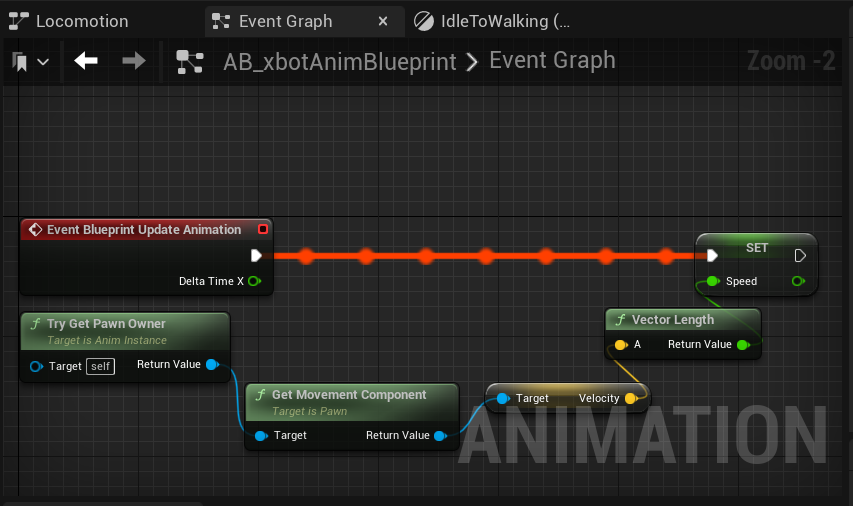
I then went to the animation blueprint, made it receive the velocity of the character and change the “speed” variable depending on how fast the character was going.
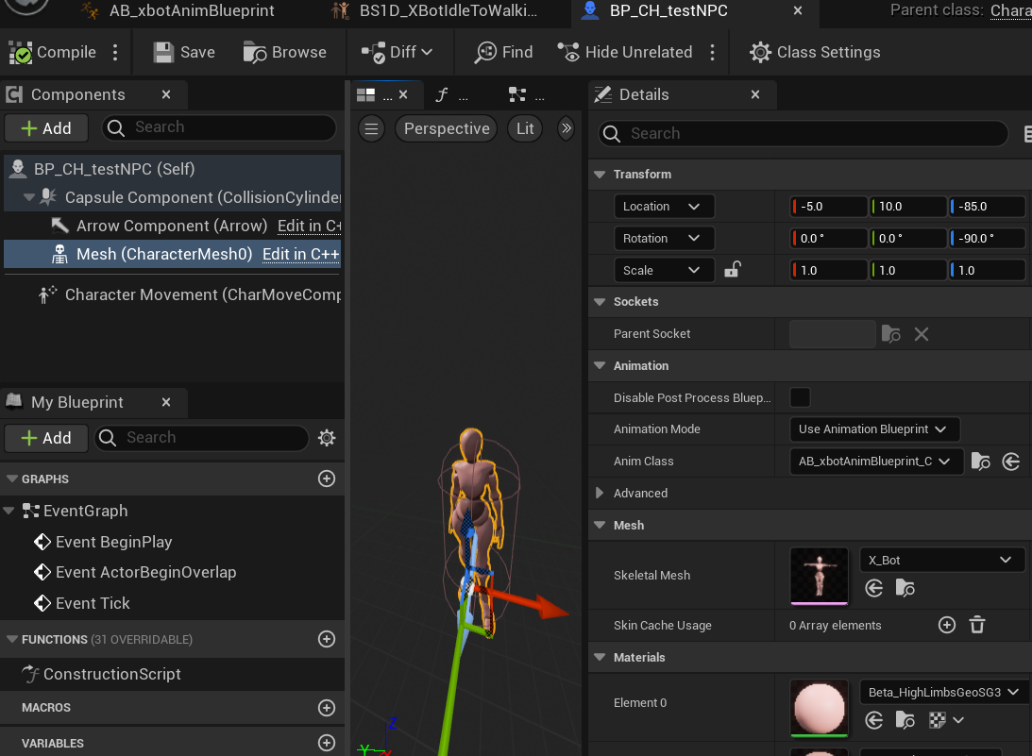
and then I set the animation class to the animation blueprint.
This means that if the character is still, it will use the “idle” animation, and if it’s moving, it’ll use a piece somewhere between “idle” and “walking” depending on how fast it’s moving. It isn’t the most advanced solution, but it’s simple and it works for adding the animation.
Now I just had to make the NPC move so I can see the blendspace function.
(I know I’m probably doing this backwards, but putting “get model and animations” at the front helps by removing that indecision-barrier in my brain as soon as possible)
I created an empty AI controller and behaviour tree, and blackboard so I could attach them to the player as soon as possible.
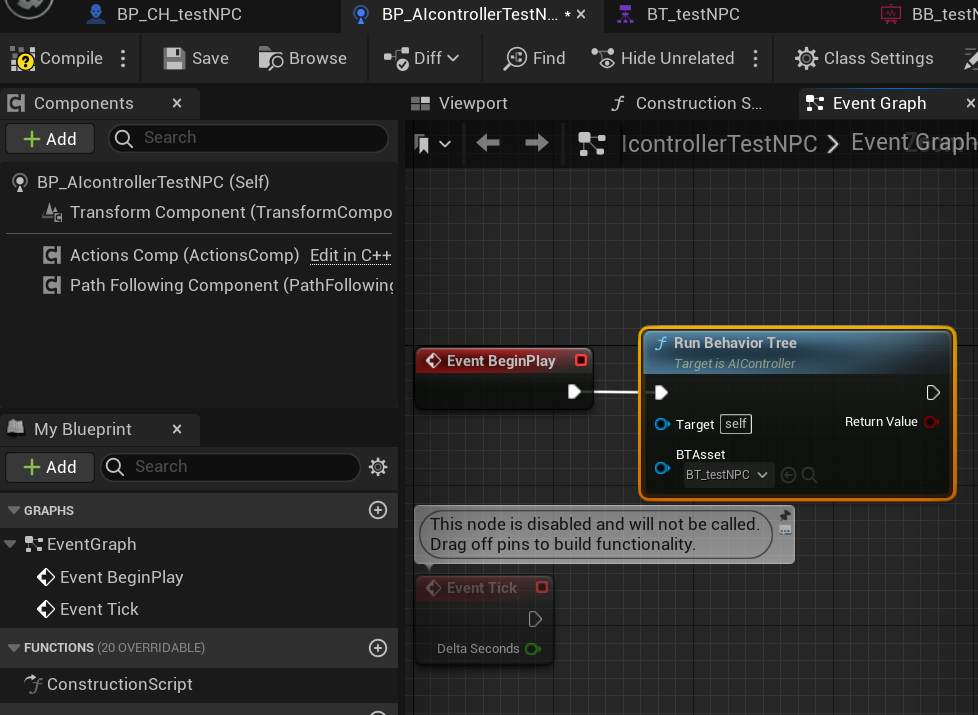
I then directly attached “run behaviour tree” to “event begin play” in the NPC’s blueprint, setting the behaviour tree within the node to the empty one I was going to use.
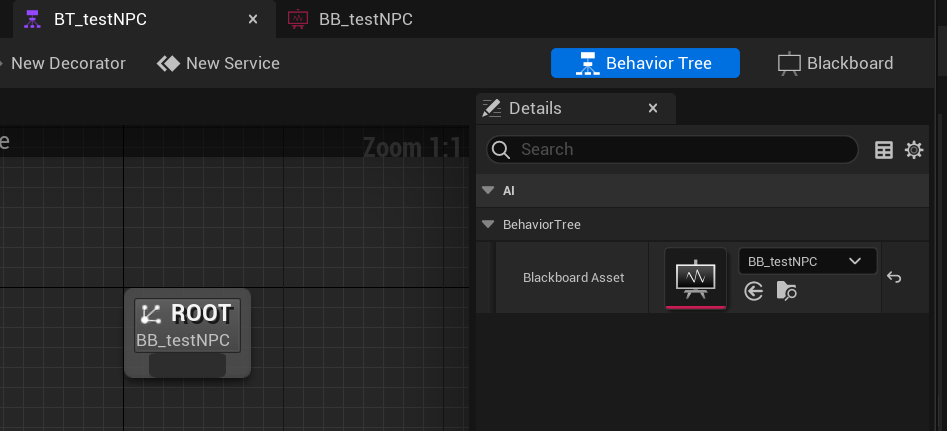
I then made a start on the behaviour tree by adding the blackboard to the behaviour tree.
Now all the items are linked up, I needed to add their functionality.
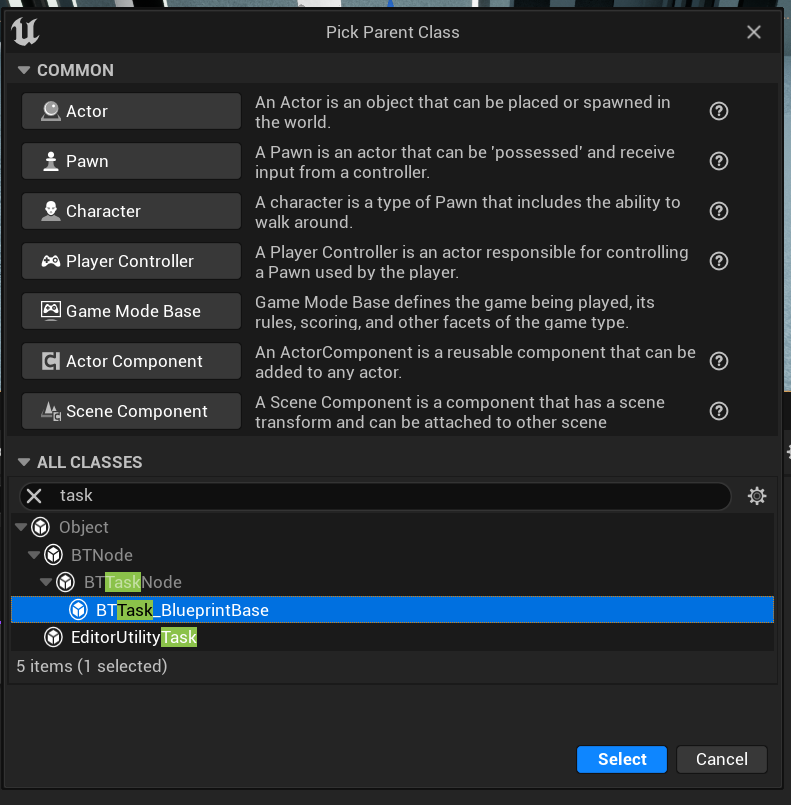
For that I needed to create a few custom tasks for the tree.
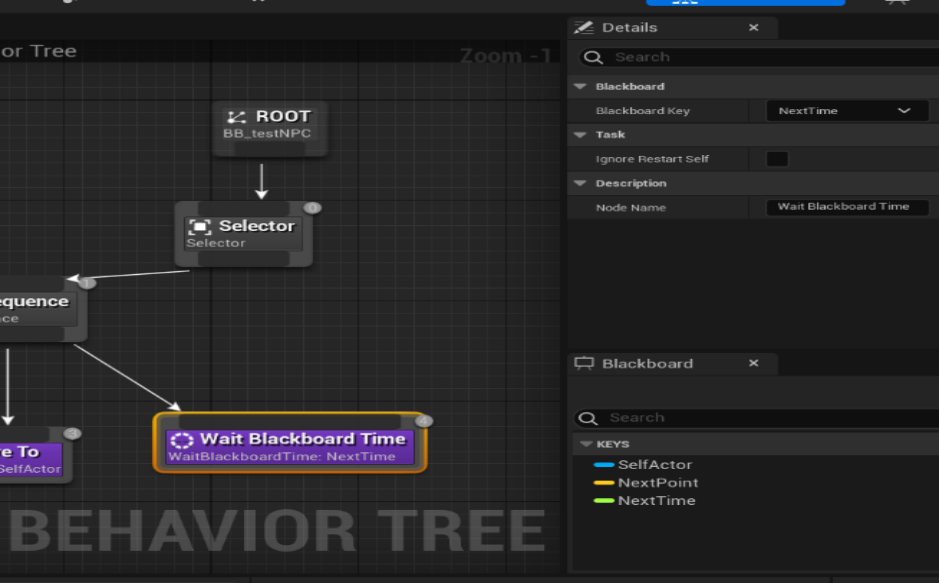
And some blackboard keys that’ll store the information that I want.
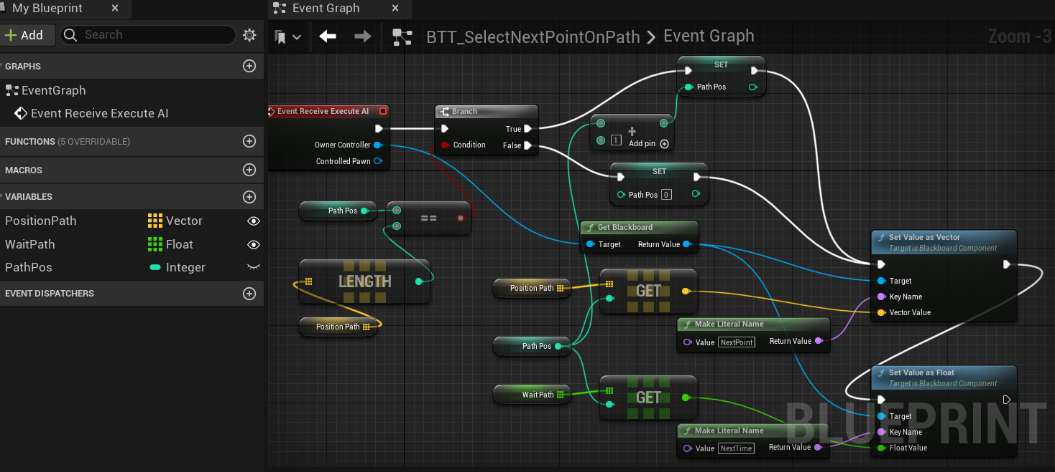
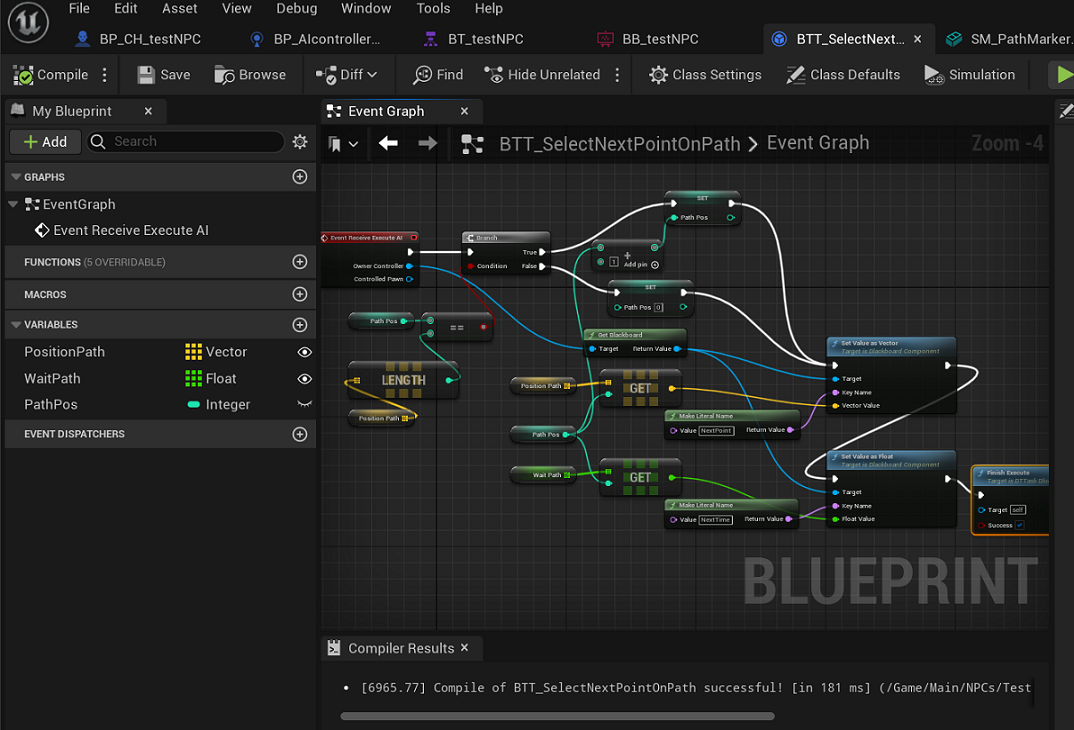
The task I created was one that got a node from the “path” hard-coded into each NPC (this was a public variable within the base NPC)
![]()
[abridged log of NPC movement still in progress, I have a private devlog to comb through]
Talk system
The talk system is the main mechanic of the game
[abridged collection of how I did this so far coming soon, I have a private devlog to comb through]
day-cycle
a key-component to the surrialist school-survival sim, keeping track of the days.
[abridged collection of how I did this so far coming soon, I have a private devlog to comb through]
Item grabbing
picking up items is connected to the quests of the talk system
[abridged collection of how I did this so far coming soon, I have a private devlog to comb through]
a way for the player to have a break AND to see what items they have
I started working on the pause menu whilst I was working on the “talk” and “item grabbing” so I could get to grips with putting a UI widget onto a player’s screen.
I added the input action for pausing when I was working on the talk-system
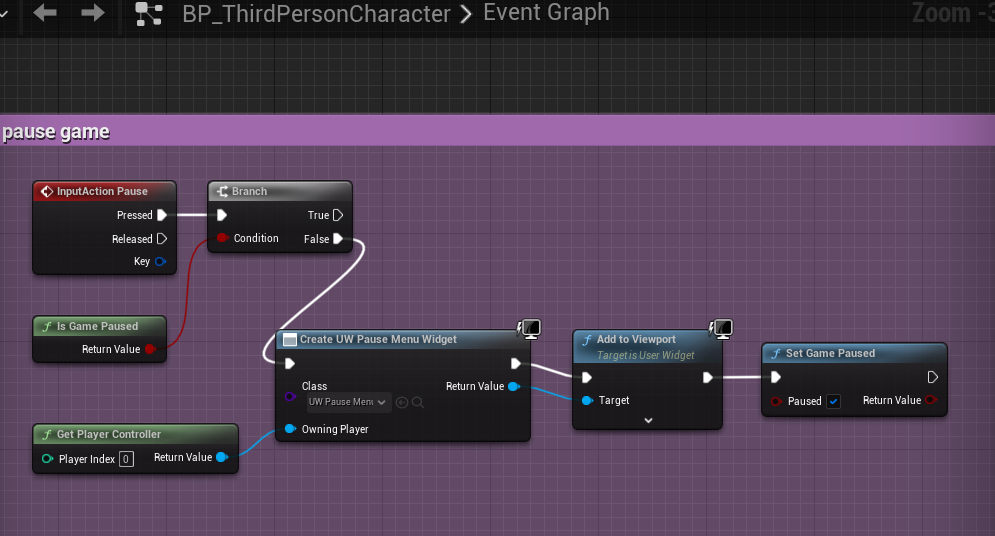
This was the first attempt at player-side-pausing I made based off of one of my previous projects, at this point, it could only pause the game and show the current pause menu.
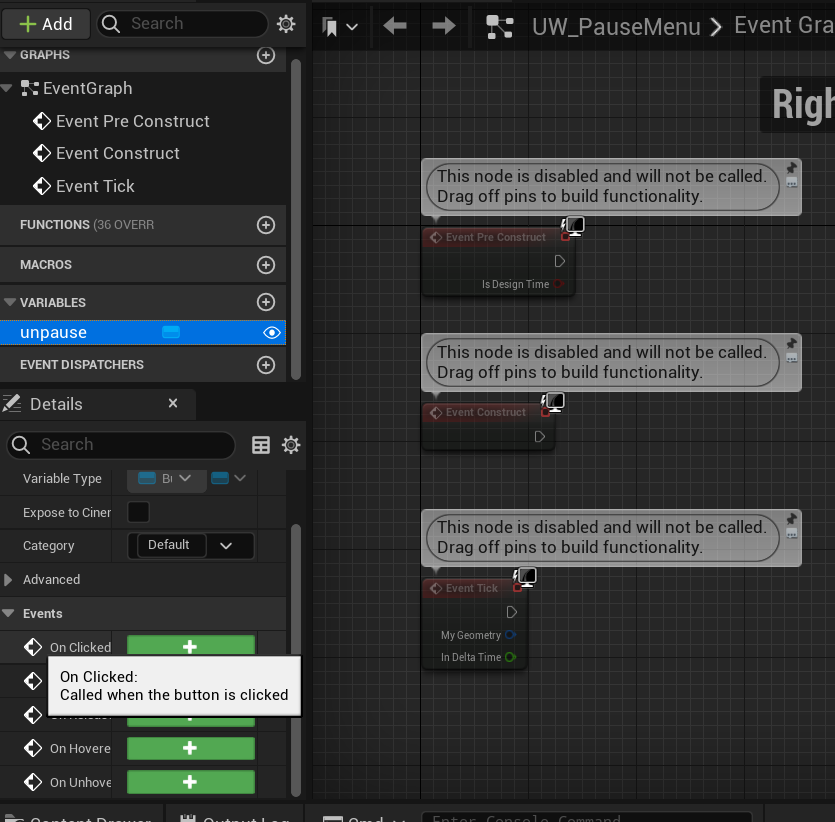
I then located the “on clicked” event that I would use to tell if one of the buttons in the pause menu had been clicked - this would be used with the UI buttons
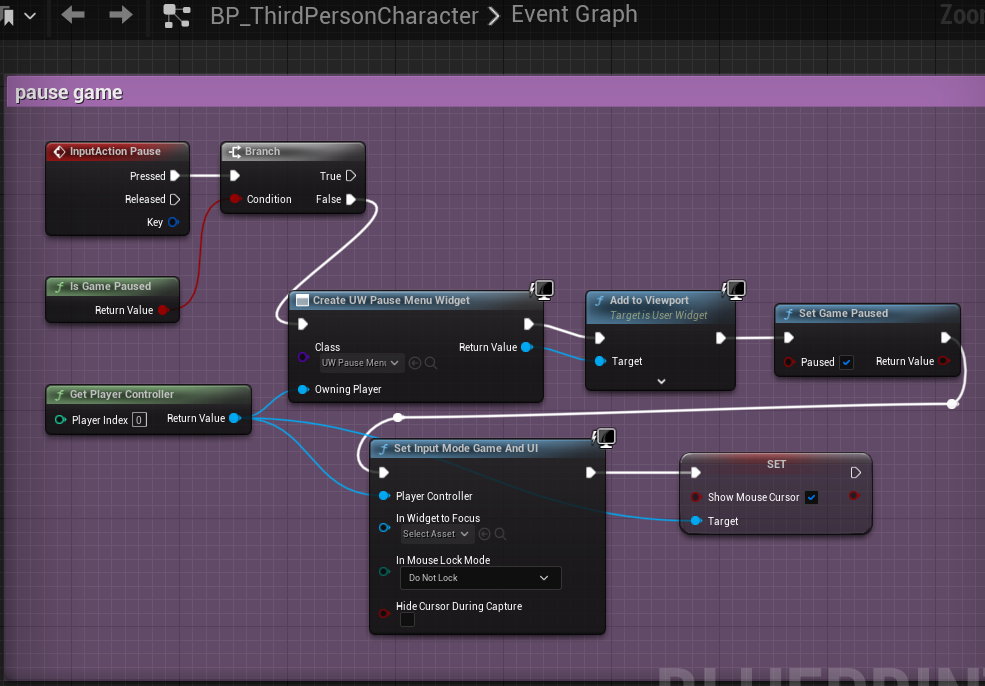
Going off of the “input action event” that I have from the key bind, I was able to use “set input mode game and UI” (setting it to “do not lock the mouse”) and “set show mouse cursor” (to true) in the player, I made sure that the player maintains control of the mouse even if the game is paused.
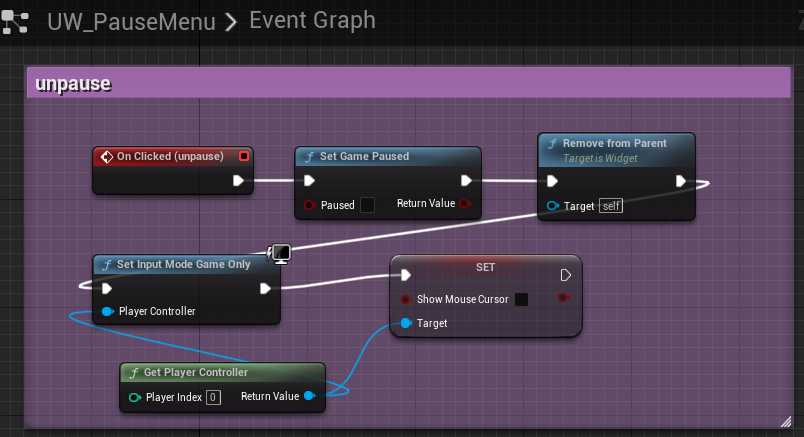
And using one of the “on clicked” events and connecting it to the un-pause button in the pause window UI I had made, I then used “set input mode game only” to make sure it had the correct player controller, and “set show mouse cursor” to false to hide the mouse.
this hides the mouse and give the player their original movement back when they press “un-pause”.
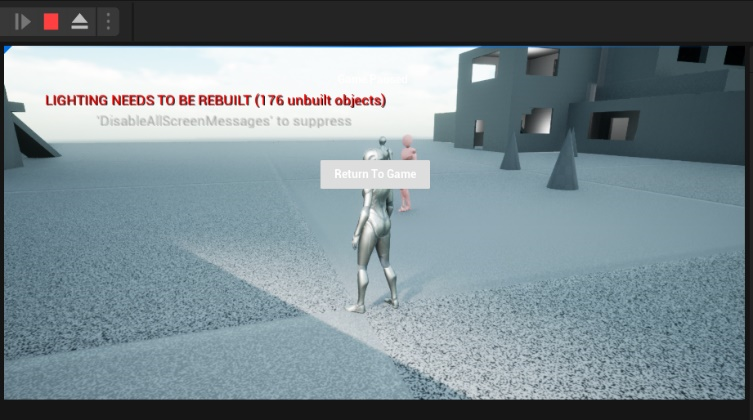
This basic pause menu worked, and I was able to use this as a basis for the interaction on the key-press, and the user interface appearing and being interactable to the player.
[abridged log of the pause menu still in progress, I have a private devlog to comb through]
main menu
the main menu is the first thing a player would see - but it and the loading screens were one of the later additions
[abridged collection of how I did this so far coming soon, I have a private devlog to comb through]
environment
the environment is what the player will be interacting with, and was the first thing I began to create so I'd have somewhere to run my tests
The first thing I made was the main area – I created some plans on paper before blocking out the main rooms using the various shape tools (mainly the rectangle/cube) in unreal engine 5.
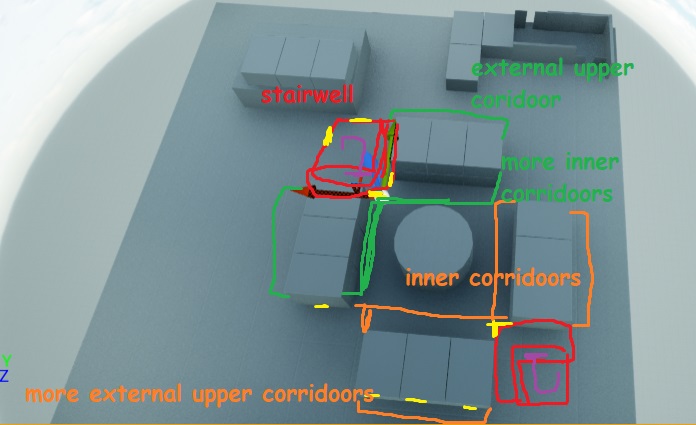
I then planned out where the stairwells, internal corridors, and balcony corridors for the building.
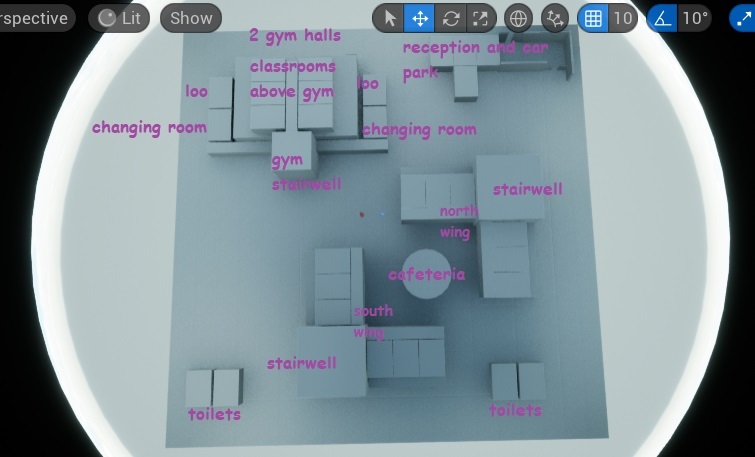
I added the internal and external corridors, and created this diagram so I didn’t forget where I intended everything to go; the small gaps between the rooms allow for the walls.
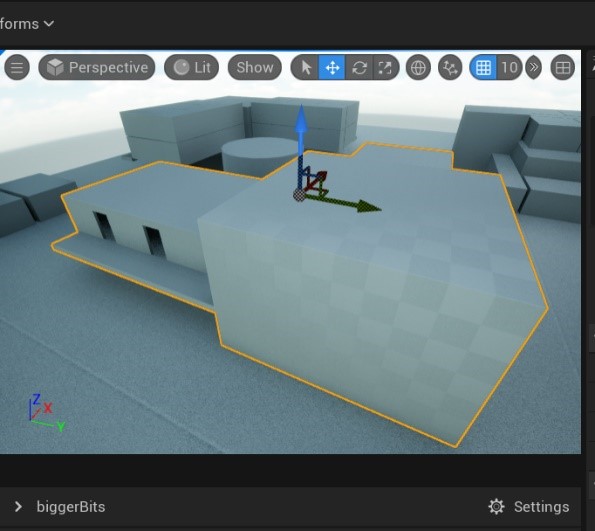
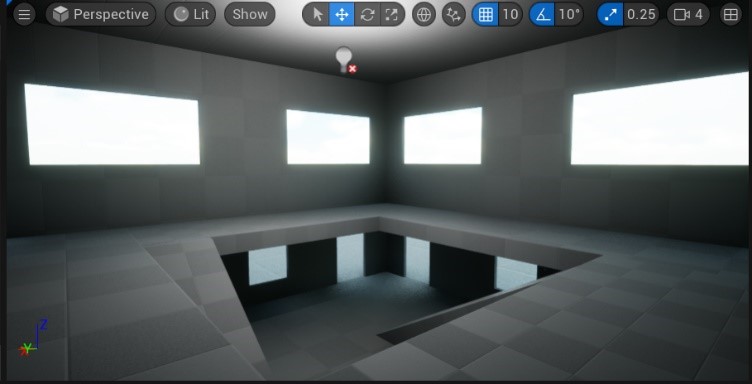
I used the mesh Boolean tool to create the rooms. I then added platforms, and used the mesh Boolean tool again to add doorways and windows.
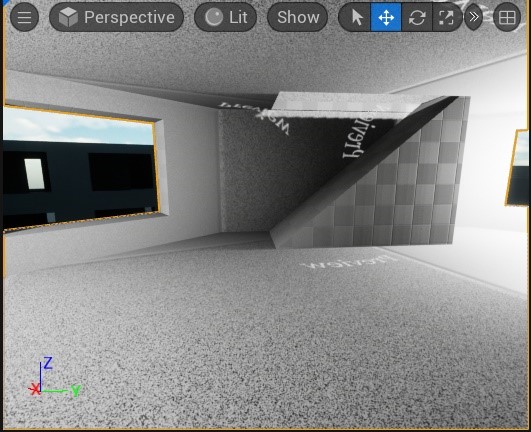
I also added the stairs to the central circular building.
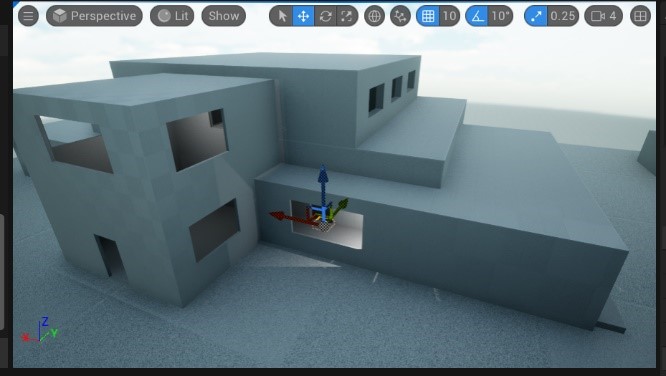
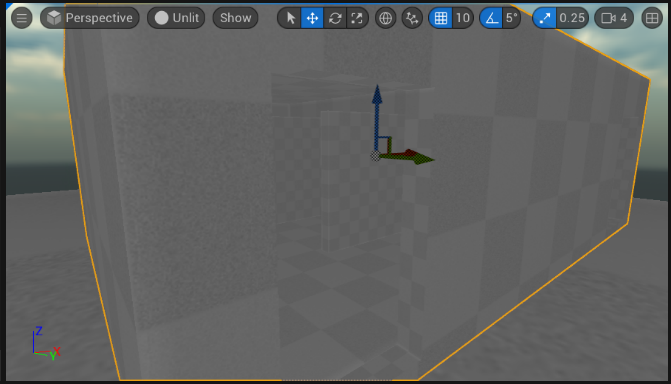
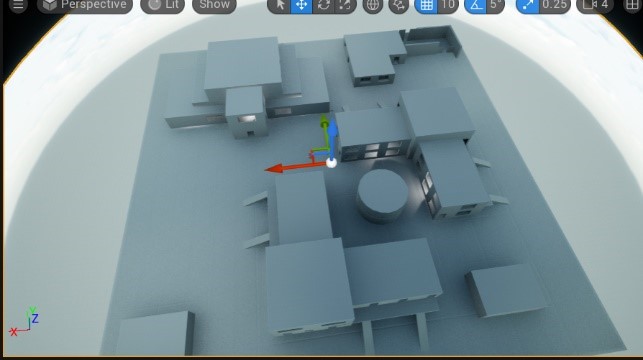
This was the map that I did a lot of my early testing on – over the rest of the development it has been scaled horizontally to add more space to the area, mostly so:
-
a) the camera isn’t always backed into a wall
-
b) give the illusion of a full-sized campus
-
c) make it so the NPCs don’t crash into each other as I got stuck for quite a while on how to seperate character collsion and floor colision in 3D.
[abridged log of the game environment still in progress, I have a private devlog to comb through]
characters
I gave the characters some extra pieces to the model so that they'd be unique.
[abridged log still in progress, I have a private devlog to comb through]


